Unity: Simple player movement system

One of the first challenges you will hit as a new game developer is how to control your game. There are countless control systems out there; in this article I will show you how to setup a simple 2D player movement system, such as may be used in a top-down shooter.
Before we can move our player, we need a player to move. You can learn how to add a game object and change the material in this article. I’ve added a simple cube for my player.

We’ll start by adding a new script called ‘Player’ by right-clicking in the Project pane and going to Create > C# Script. The script will automatically be ready to be renamed; do this straight away to avoid having to alter the script later.

Double click the script to open it in your chosen editor. Your script should look like the above with a Start and Update Method. We’re going to use the Start method to reset the player position first.

In Unity, game objects are hierarchical; that is that their attributes can be accessed in code via structures like the above. In this Start method we are taking the transform of the object the script is attached to (the Player) and accessing the position. We are then going to apply a new position to the game object with a Vector3. This gives the object a new position in 3D space based on the x, y and z coordinates, in this case, 0, 0, 0.

When the game starts, this line will reset the player back to ‘0’ in all 3 axes.
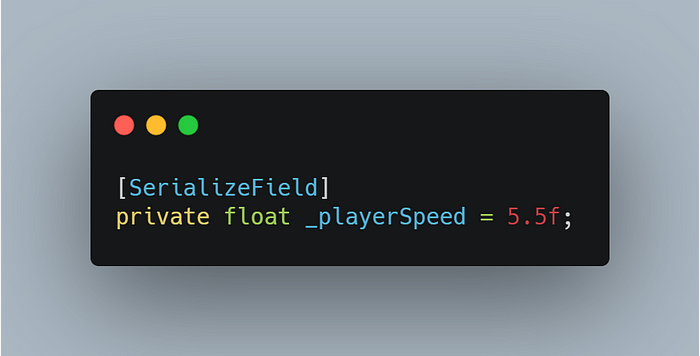
Next we’ll add in a private float called ‘_playerSpeed’ which we (or our designers!) can adjust in the Inspector in Unity due to the [SerializeField] attribute which makes it adjustable in Unity whilst keeping the variable private from other scripts.
Now we need to update the position of the game object based on the input from the player. Unity has an Input Manager built in that has certain axes built in.

Above is the Horizontal axis already set up in Unity. You can access the Input Manager settings by going to Edit > Project Settings > Input Manager. Things to note here are that the negative inputs come from the left arrow and the ‘A’ key and the positive inputs from the right arrow and the ‘D’ key. This mean that when the ‘A’ key is pressed, it produces a value of -1 and the ‘D’ is 1. We can use this to control movement. Lastly, note the name of the Axis — we will need this shortly.
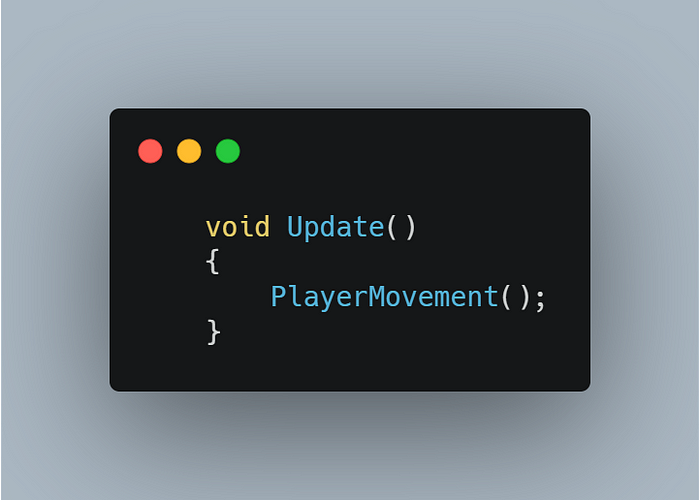
Back in the Player script we can call a method in Update that will handle our movement.
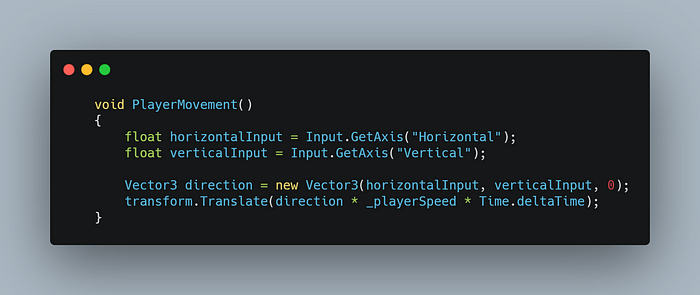
Below our Update method we can create our PlayerMovement method. First we need to define some local variables for the movement, ‘horizontalInput’ and ‘verticalInput’. These take the axis from the Unity Input Manager in the form of a string; for example we are ‘getting’ the value of the ‘Horizontal’ axis and assigning this to our local variable.
We then create a third local variable ‘direction’ of type Vector3. This will hold the current values of both the ‘horizontalInput’ and ‘verticalInput’ variables; the z axis will be 0 as this is a 2D game and we’re only concerned with the x and y movement for the time being at least.
Lastly we calculate the Player movement using transform.Translate. We input the direction Vector3, multiplied by our player speed variable and we multiply this by Time.deltatime. Time.deltatime relates to the time it took the display to refresh from one frame to the next, but in essence it allows us to restrict the movement so that framerate shouldn’t speed up or slow down our movement. Without it our Player would move ‘x’ amount of units per frame as opposed to per second.
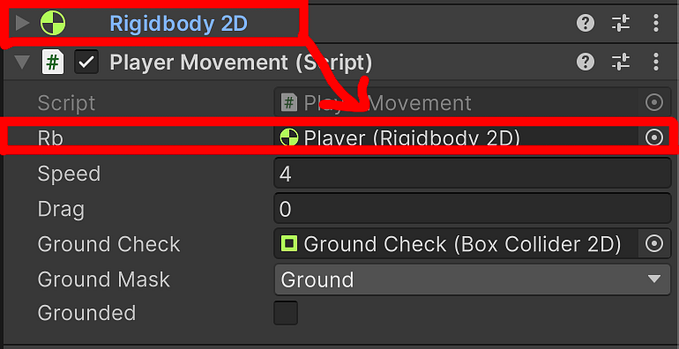
Save the script and back in Unity we can apply it to our Player by dragging and dropping. When you run the game now, the cube can be moved around the screen using the WASD or arrow keys on your keyboard, but it can go off the game screen, which we don’t want. Let’s restrict it.
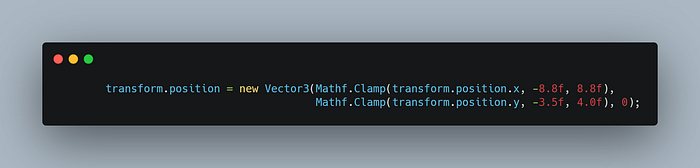
Into our PlayerMovement method, we can add the following (long!) line which will restrict both the vertical and horizontal movement. Mathf.Clamp will restrict the first value to be between the second and third attributes so in this case, transform.position.x will only ever sit between -8.8 and 8.8. To get these values, move your player object in Unity until you are happy with the boundary position, then note the value in the inspector.
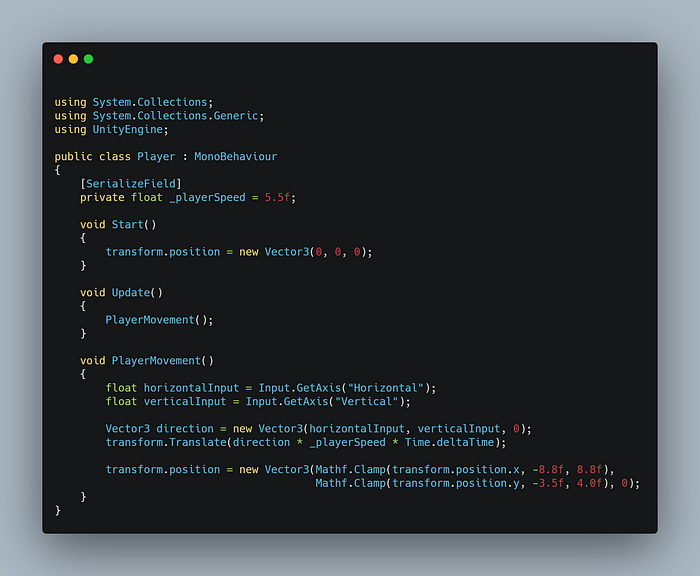
So the whole of our Player script now looks like this. Unity now has a new input system which can be more tricky to implement but which makes it easier to configure input for various devices. I will cover the new system in a later article but, for now, we can move our player around the screen.